How to use ODHUB Labelling Tool
ODHUB has a built-in labelling tool if you need to add, modify or delete labels in your training dataset.
The labelled file will have a compatible format with other object detection frameworks.
To open the Labelling Tool, you can:
- Click Launch Labelling Tool at the Select Project window or Load Image window in ODHUB.
- Use our Standalone Labelling Tool without logging into ODHUB
Image Display menu allows you to adjust basic image functions such as zoom, size, cursor mode, colour, etc.
Image Labels menu helps you
- See all labels of the selected image
- Show/hide label by clicking each check box
- Save labels or clear all of them.
File Navigation menu helps you
Navigate through each image
Check which is labelled image (filled box) or unlabelled image (blank box)
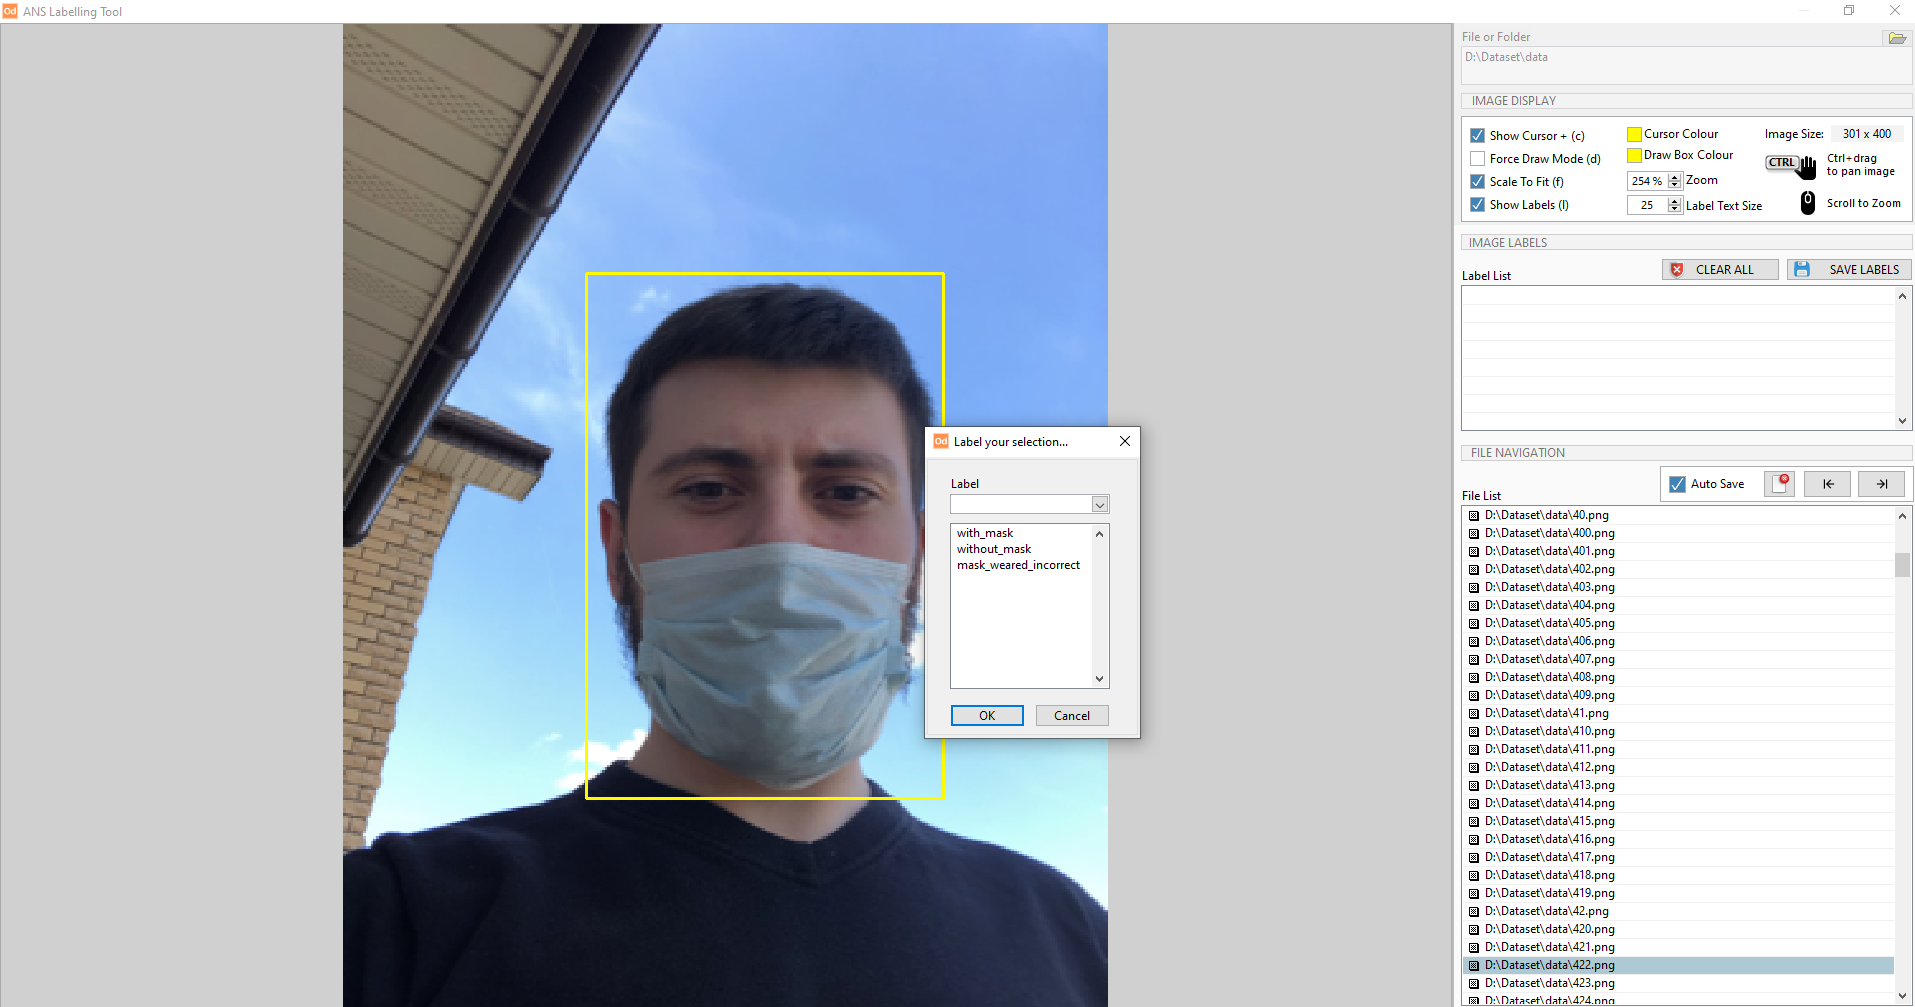
To label an image
- simply drag and drop the cursor around the area that needs to be labelled; then you can name them by selecting the current label name (category) in the dataset or creating a new one.
Note: Each label category must be used at least 50 times (50 labelled objects) in a dataset for a sufficient amount for training
- Save the new labelled area by clicking Save Labels, or you can check AutoSave to save labels automatically.
Note: To activate the autosave function, you must use arrow keys to navigate through each image