Design an object detection model (step by step)
Designing an object detection model using ODHUB includes:
- Launch ODHUB
- Select project
- Load training dataset
- Configure neural network
- Train AI model
- Evaluate & Export the trained AI model
- Test the trained AI model with unknown data (optional)
Launch ODHUB
To launch ODHUB, either locate the ODHUB shortcut on the desktop or Windows start menu
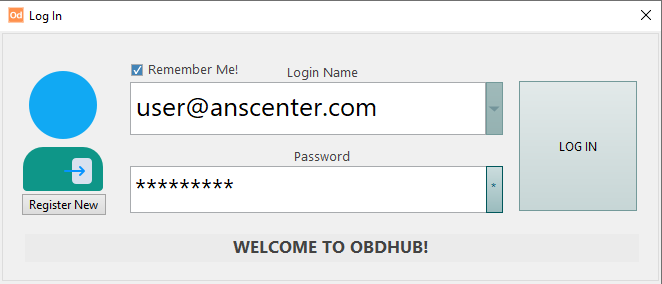
Open the software, type your account information and click LOG IN
Select project
After successfully logging into ODHUB, the Select Project window is displayed.
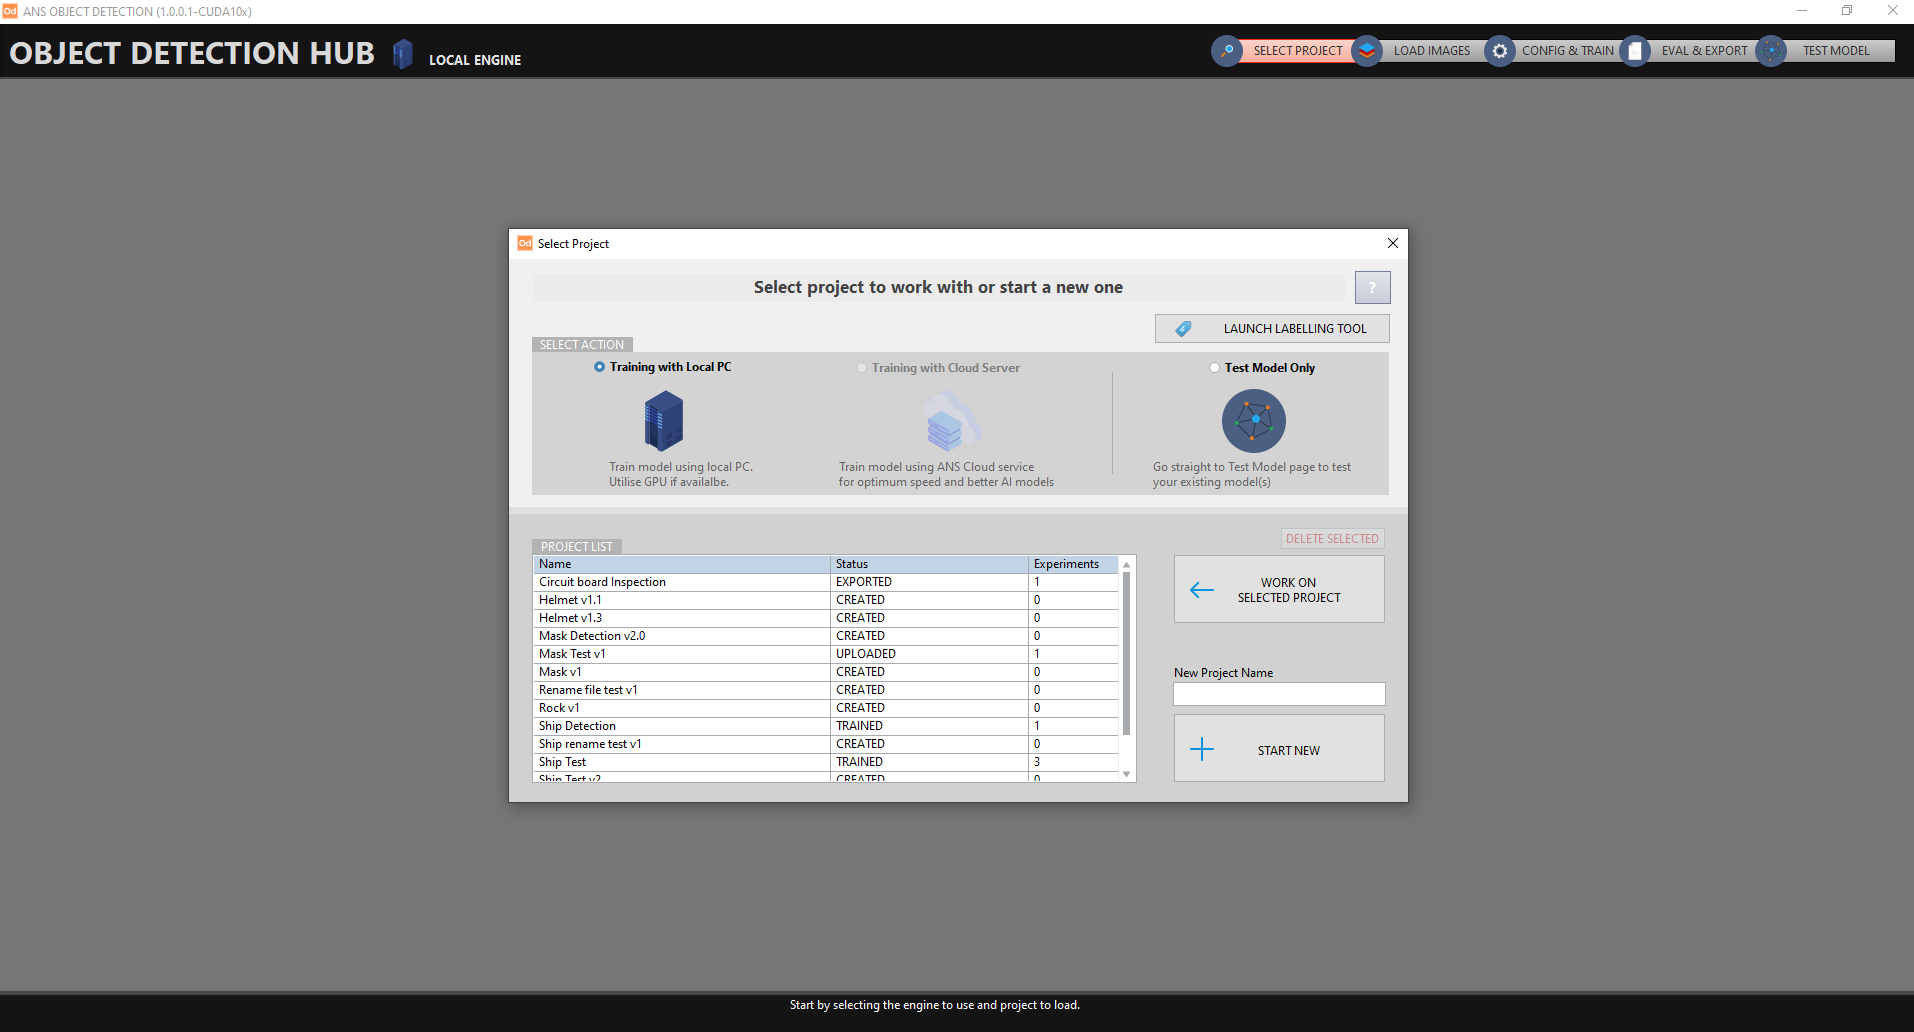
Step 1: Select action
ODHUB supports users with different engines to train the model
By selecting Training with local PC, ODHUB will utilize your local PC engine for the training
Note: If you're using GPU engine for training, ensure that your GPU driver is up-to-date.
By selecting Training with Cloud Server, ODHUB will train the model using Cloud engine (ANSCloud). This option is recommended if:
- Local PC specifications do not meet ODHUB system requirement, OR
- User need to train large scale AI applications
By selecting Test Model Only, this action only applied for trained/exported projects; you will go straight to the testing window to test the model.
Step 2: Project list
ODHUB allows users to manage AI projects after selecting an action. Users can choose existing project, delete or create a new one.
The status column indicates the status of each project
- CREATED: the project is created
- UPLOADED: the project is in the model configuration step.
- TRAINED: the project has gone through the training process
- EXPORTED: the trained model is exported
The experiments column indicates the number of trained models (with different configurations) in the project.
To create a new project
- Type project's name in the "New Project Name" box
- Click Start New, then ODHUB will automatically go to next step
Load training dataset
After having a training dataset, click the folder icon near the Project Folder and browse to the "data" folder of your training dataset
Click Current Folder to load the training dataset
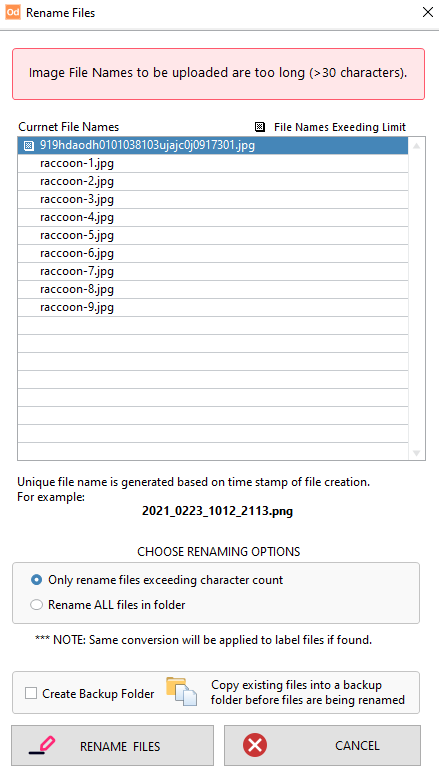
Note: Data path should not be too long and should be named using English Alphabet
In case the file's name is too long, a dialogue will pop up and request users to rename files
Once the dataset is loaded successfully, click Validate Data to auto-check data sufficiency.
- If the dataset is sufficient, the DATA IS GOOD notification will appear
- if the dataset is insufficient, the NOT ALL FILE CONDITIONS ARE SATISFIED notification will appear. You can refer to the Image and Label Files Check and Map File Checks on the left side panel for troubleshooting and make modifications before Validate Data again
In case images need to be labelled, click Launch Labelling Tool to add, modify or delete label in your training dataset.
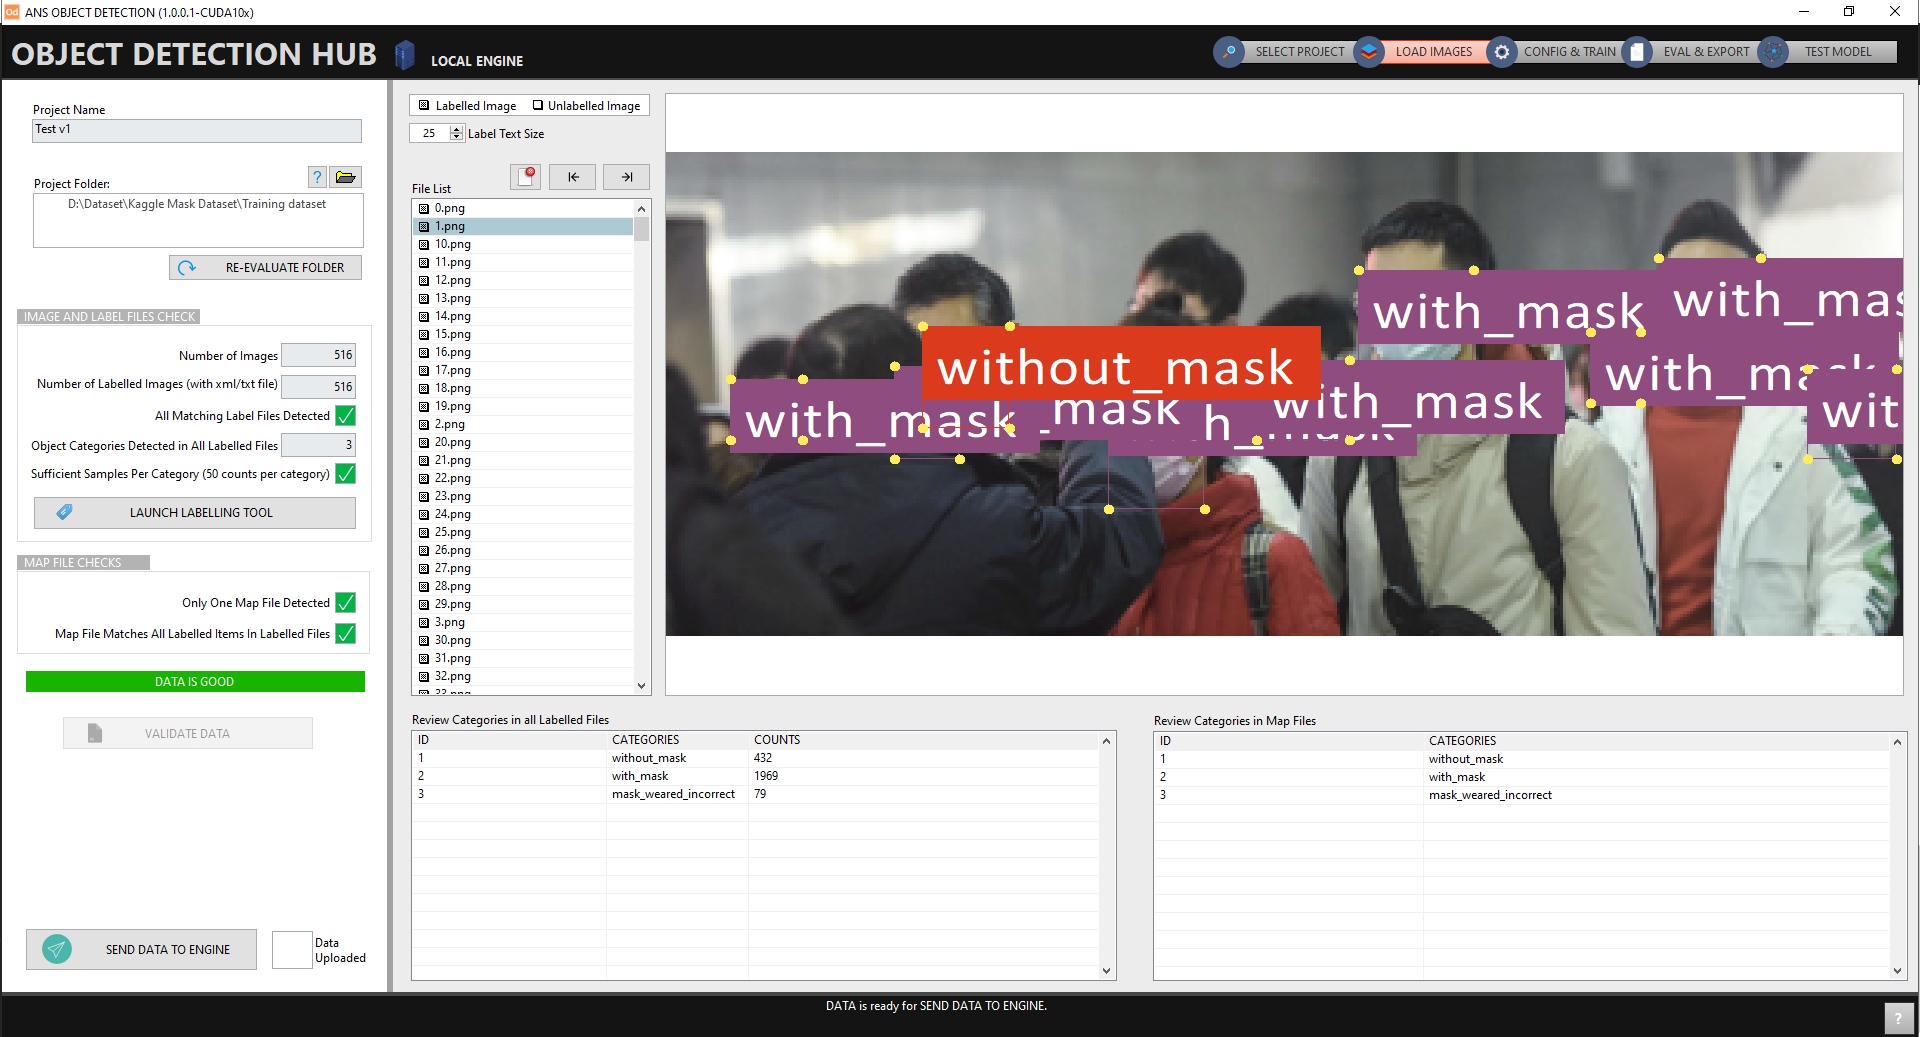
The label categories will be converted to numerical values for training purpose
Once data is good, click SEND DATA TO ENGINE to continue
Configure neural network
After sending data to engine, the Config & Train window will be displayed. This is where you modify your training parameter and start the training process.
The new experiment table is where you can create a new configuration.
To start a new experiment
- Adjust the training parameters
- Click Start Training to begin the training process
The previous experiments table contains the information of all previous trained experiments (if any); here user can:
- See the result of all previous trained experiments
- Continue training the selected previous experiment by adjusting the learning rate and/or number of extra steps
If you want to change the model type or batch size, you must create a new experiment.
Training
During the training process, GPU (if available) will be used to accelerate training speed.
The loss and the evaluation value will be updated constantly on the training graph.
The mAP value will be updated at the test graph after each 1000 trained steps; you can then check the reported mAP value to determine if you should stop or continue the training.
Note: mAP stands for mean Average Precision ranging from 0 to 1 (or 0% to 100%); it's the indicator to define whether the trained model is good enough, and the closer to 1 (or 100%), the better the model is.
After training is completed, users can:
- Go to next step by clicking Move on to evaluate & report, OR
- Continue training with the previous experiment, OR
- Start a new experiment with different model type and/or batch size
Evaluate & Export trained model
ODHUB provides an intuitive report that helps users choose the best experiment (model) for their object detection application. This information includes model type, final mAP, etc.
If you decide to use the AI model for deployment purposes (example: LabVIEW application), you need to export the model:
- Select the desired experiment.
- Click Export selected experiment model
The exported model will be saved in the same location of the training dataset folder as .zip file.
Once exporting is completed, ODHUB will ask if you want to manually test the exported model. Click Yes to continue.
Test the trained AI model with unknown data (optional)
ODHUB supports a built-in test interface to allow users to test the model performance before final deployment.
Here you can test your model using:
- Current project images
- Other images source
- Webcam or integrated camera.
You can monitor the inference speed (object detection time), object location in real-time, adjust the threshold (min score), and label text size on the right-side panel.
Now you have finished designing a custom object detection model in just a few simple steps.
Note:
- A typical approach to AI is always trial and error, so training with different datasets and parameters are recommended to find the best model.
- ODHUB consumes lots of engine resources with each project; therefore it is recommended to restart the software before launching another project to ensure its stability